Customize the appearance of your Community to reflect your brand, communicate your message, and encourage collaboration.
Who can do this? Platform site Admins and Community Admins.
Change the Community logo
The logo is displayed on the login page and all emails from your Community.
-
Go to your Community home page.
-
Select Settings > Manage Appearance.
-
Next to General Logo, click Choose File and upload your logo.
-
Click Save Changes.
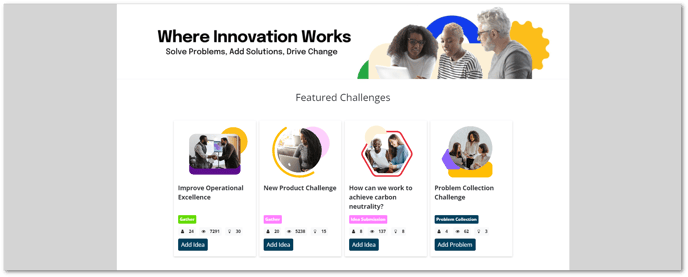
Change the Community background color
-
Go to your Community home page.
-
Select Settings > Manage Appearance.
-
Under Background, next to Color, use the color picker to select or enter your preferred color.
-
Click Save Changes.
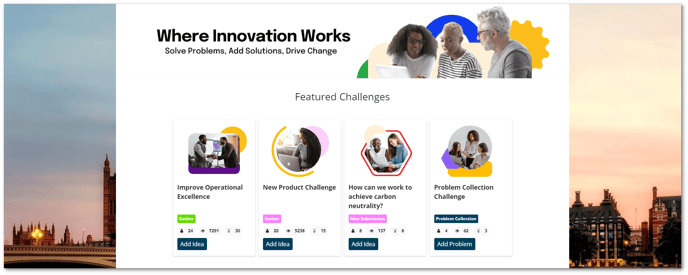
Change the Community background image
-
Go to your Community home page.
-
Select Settings > Manage Appearance.
-
Under Background, next to Image, click Choose File and upload an image.
-
Click Save Changes.
Change the Community header logo
-
Go to your Community home page.
-
Select Settings > Manage Appearance.
-
Under Background, next to Image, click Choose File and upload an image.
-
Click Save Changes.
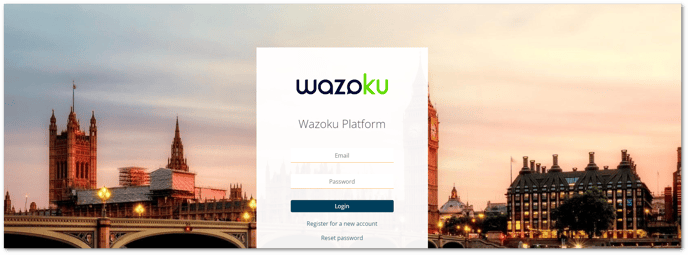
Change login page background color
-
Go to your Community home page.
-
Select Settings > Manage Appearance.
-
Under Login page, next to Background color, use the color picker to select or enter your preferred color.
-
Click Save Changes.

Change login page background image
-
Go to your Community home page.
-
Select Settings > Manage Appearance.
-
Under Login page, next to Background image, click Choose File and upload an image.
-
Click Save Changes.
Note: You can also customize other elements such as the color of text, links, and the border around the Community header.
See also